
Week 1 - 3D Printed Brackets
- Kevin Liu

- Jan 20, 2021
- 1 min read
We purchased 2020 aluminum extrusions from http://www.map-inc.ca, who were a big help in offering us a 50% discount! Unfortunately, we had purchased tnuts from China that don't quite fit the extrusion profile. No worries, we can solve this with custom printed brackets that interference fit with the rails.
First Attempt:

Our first attempt was very promising, the custom brackets could be driven into the extrusions, and grabbed very tightly. However, it seemed like strength was lacking, and this is a direct function of the 3d printing direction. 3d printed plastics are not isotropic and are far weaker in tension perpendicular to the layers, thus we had to iterate some more.
Strength Characterization:
Of course, the orientation isn't the only parameter that can affect the strength of a part. The infill pattern matters as well. here we performed load testing of different brackets printed with different infills.
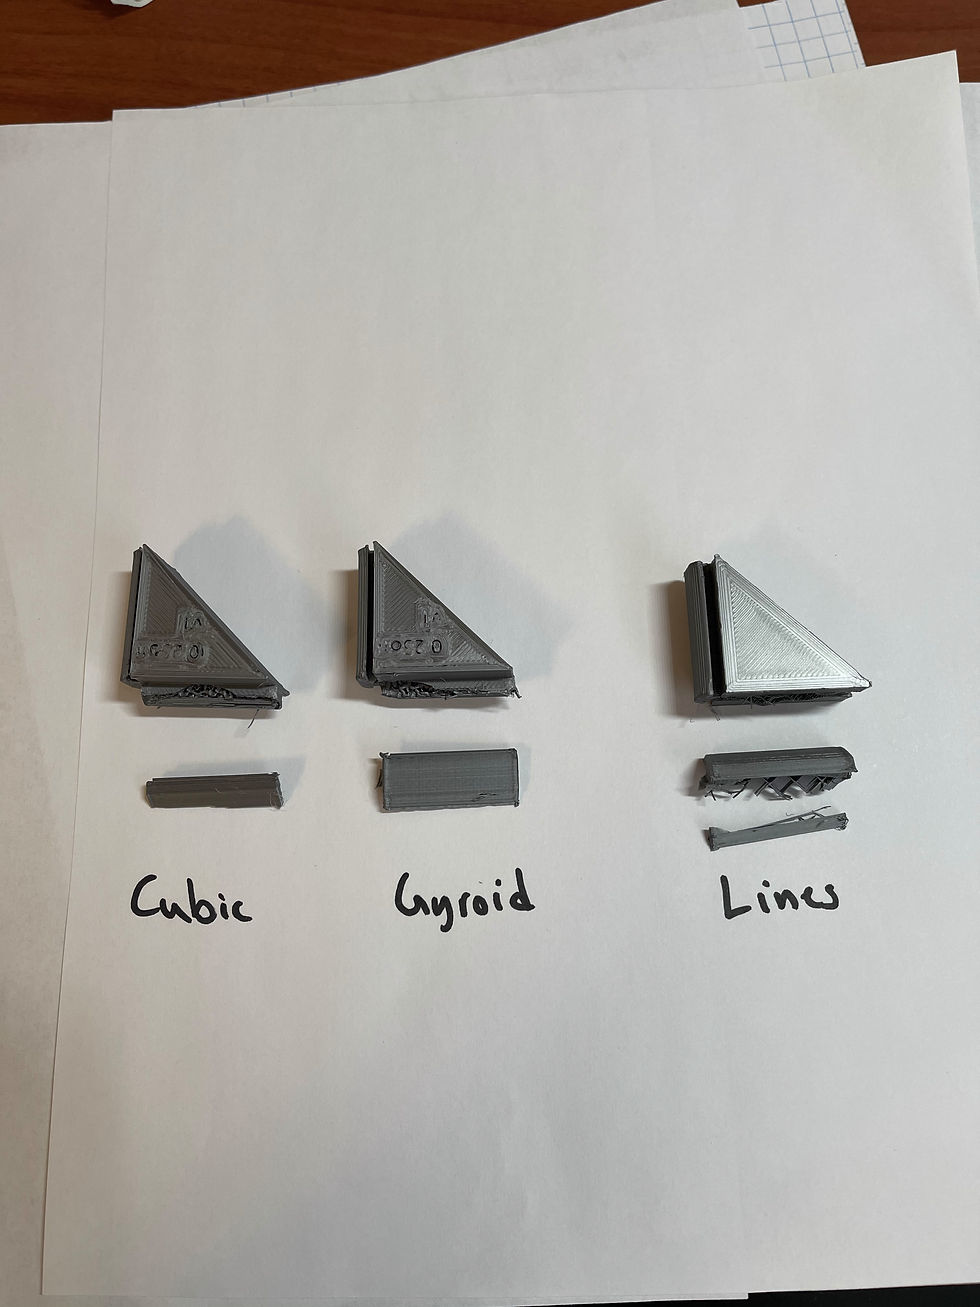
Of these samples, gyroidal infill results in the highest strength followed very closely by cubic subdivision. Lines infill was by far the weakest. However, gyroidal infill increases material usage slightly and increases print time, thus we decided that the negligible strength difference is something we were willing to trade-off.
Final Batch and Assembly:
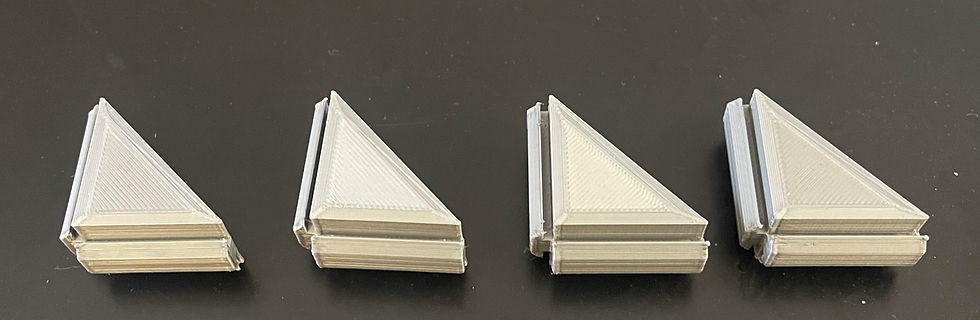

Using our brackets, we begin construction of a rigid machine frame. The print time is quite substantial - 4 brackets take approximately 5h to print - and we require 32.


Comments